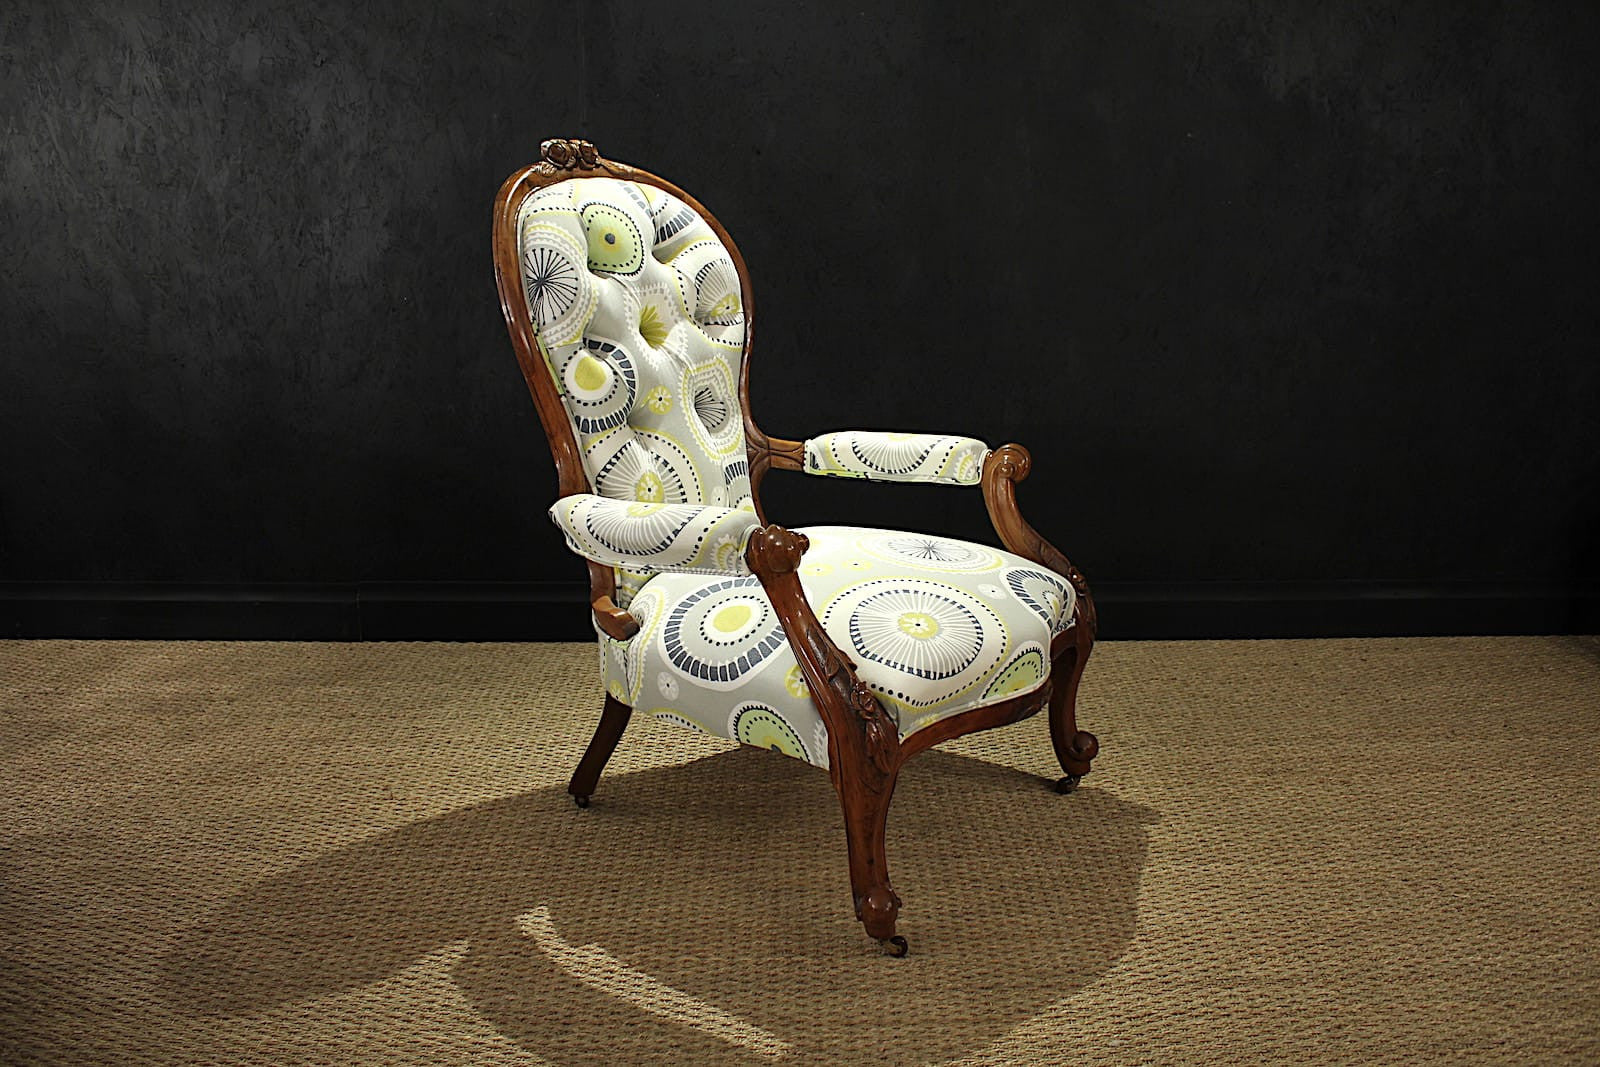
Restoring a Victorian Windsor Spoon Back Chair
Simon GilboyShare
We were approached earlier this year by one of the fastest growing creative agencies, Original Concept Productions who had been commissioned by the Discovery network to make a series of 'idents' for their Fine Living channel. We met in January and discussed a number of concepts. Their remit was to film a number of different restoration projects from start to finish such as a piece of broken fine china and even an old tapestry. Ours would be the complete restoration of a piece of antique furniture. Fortunately we had a victorian walnut spoon-back open-arm chair that was in very poor condition and was in need of a comprehensive restoration. As the whole process would take about six weeks to complete, the film company would visit at critical stages and film the each step in the process.
We thought it would make an interesting story for you to find out about each step in the process too:
Strip-down
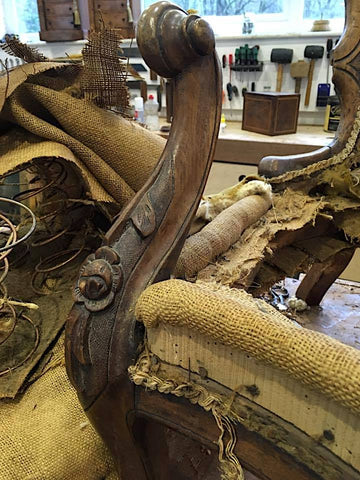 The chair was completely stripped down with the upholstery being removed first while taking care to retain as much of the original upholstery (horsehair, springs, wadding etc) as feasible so that it could be reinstated by our upholsterer to preserve as much of the original chair as possible.
All the joints were steamed apart. This involved melting the old traditional hot-melt or hide glue with nothing more than steam. The snapped or broken dowels were carefully drilled out and new hardwood dowels made to replace the softer pine ones found in place.
During this process it became apparent that one of the legs was so rotten with woodworm that it was beyond restoration and would need to be replaced. In fact it was so bad that even pressing lightly in places would cause the structure to collapse to dust!
Luckily we have a wood store full of old reclaimed wood from just about every period of furniture-making history, so our head restorer went to find a piece of wood of similar age and type to that used in the chair. A new leg was then fashioned from this wood using the original leg as a template.
Rebuild
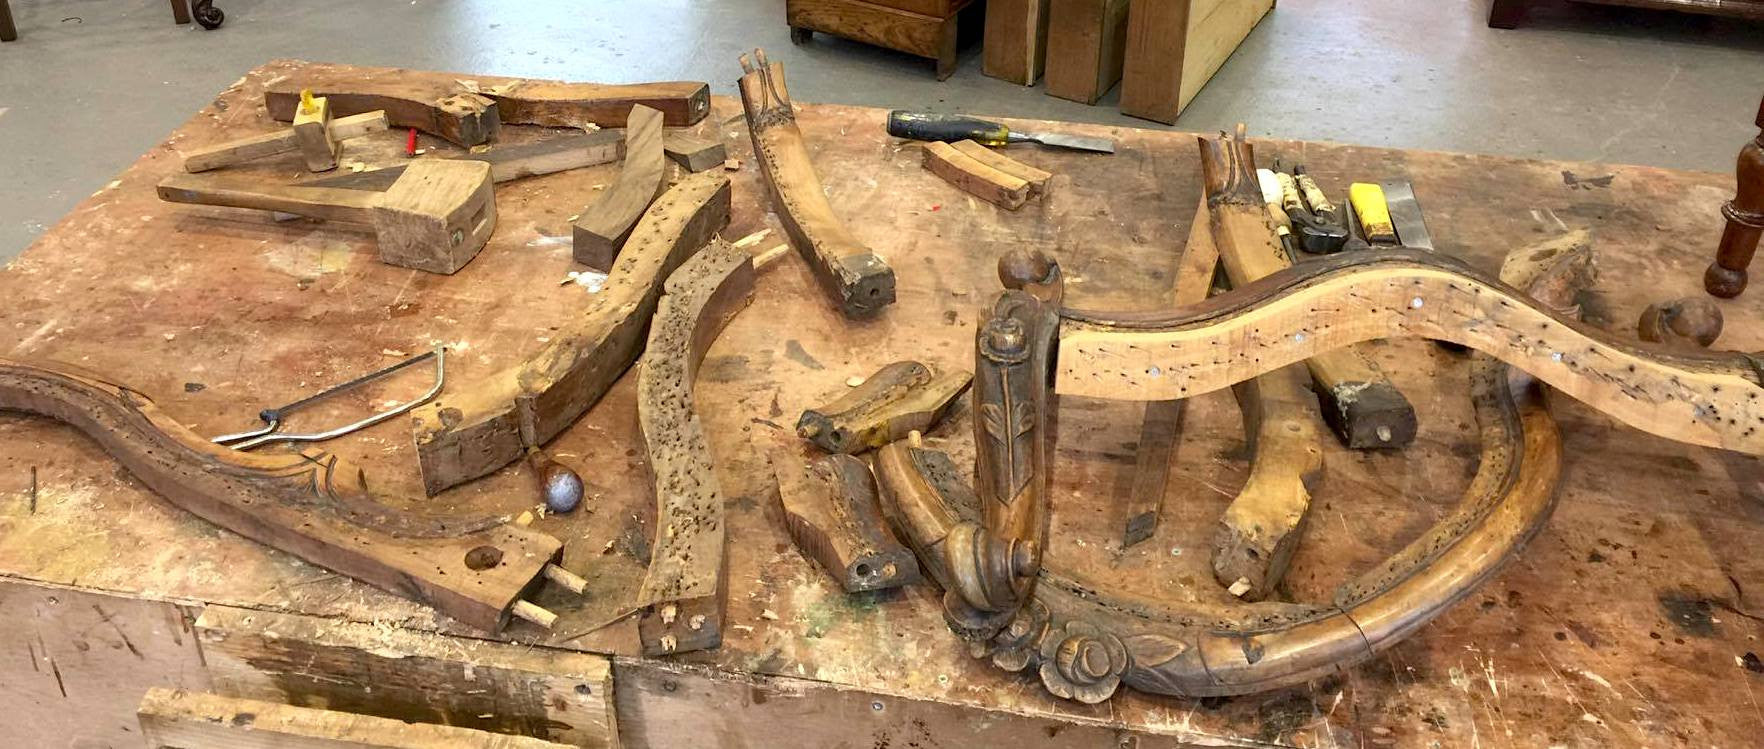
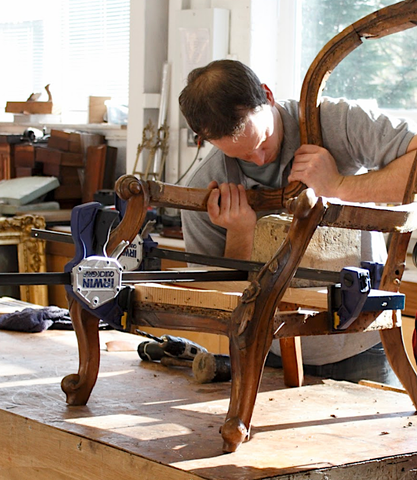
Once all the parts had all the old glue cleaned off, all the joints were 'keyed' by lightly sanding them down. A dry-run reassembly was then carried out without glue to ensure everything fitted perfectly together again. The joints were then glued using traditional hot-melt glue, also known as hide or pearl glue. This is to ensure that any future repairs can be carried out using the same 'steaming' method to unglue the joints with minimum stress to the wood. All the joints were then clamped and left to dry for 24 hours.
Preparing the wood for finishing
The existing finish was sympathetically stripped back to the bear wood using a mild solvent stripper, with great care being taken not to remove any of the character, marks, dents and dinks (patina). The timber was then neutralised with an alcohol-based solvent to halt the chemical reaction of the stripper and prepare the surface for finishing. All the timber was then cleaned evenly with light grade sandpaper (240 or 320 grit) going with the direction of the grain. Normally at this point the wood may be stained with an oil or spirit stain if required for a desired colour, but in this case we wanted the natural colour of the walnut to shine through.
Traditional Processes of French Polishing
First the timber was sealed lightly with a shellac-based sealant (made from the excretions of the shellac beetle), with head restorer Will being careful not apply it too quick or too heavy and allowing it to completely dry between coats. Before each coat the surface was lightly sanded with silver finishing paper (320 grit), removing any nibs (bits from the cloth or other foreign objects).
This piece was only sealed twice to allow the grain to show through, but for a full piano finish with no grain showing we might apply four or five or more coats depending on how grainy the wood is.
A special pale french polish was then applied all over the frame and then very fine ('0000' grade) wire wool was used very lightly to ensure the surface was completely smooth. Then using a french polishing rubber (essentially a fad with a square piece of cotton wrapped over it) more french polish was applied to the surfaces in a much more controlled manner. This is then left for a few days or up to a week or longer to harden.
Protecting the French Polished Finish
Once the french polish has hardened, Gilboys rose gold beeswax furniture polish was applied using very fine '0000' grade wire wool to polish and protect the finish. This was left overnight to dry and harden. The next day it is all buffed to the desired soft antique sheen with a restorers' cotton buffing cloth.
The chair was then ready for the upholsterer.
Reupholstering
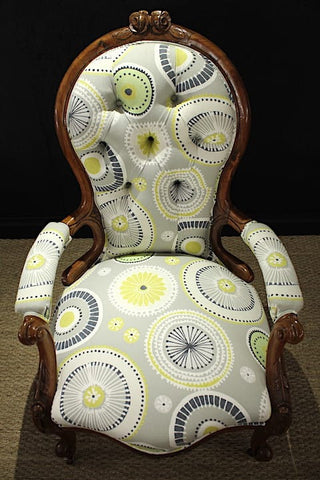
It’s worth mentioning the attention to detail in the reupholstering work. The back of the chair is deep-hole buttoned. This is a very difficult process where the fabric has to be carefully folded in such a way so as to retain the original aesthetic design of the pattern. Each button has to have a section of fabric hand-pressed on to it. It has to be carefully selected so that it will match the pattern of the fabric when it has been pulled through to its final position on the chair. All the double piping was hand sewn and applied, again with great care taken to ensure it complements the chair covering throughout.
Final Touches
Once back in the workshop the chair is closely inspected and given a final polish with Gilboys rose gold before being presented to the customer.
Here's the finished 'ident' video for Fine Living TV:

