How To Restore Nathan Teak Furniture (Step-by-Step Guide)
Simon GilboyOver the last few months I have received many enquiries from people asking how to restore their Nathan furniture. So, in response to this demand I have produced a step-by-step guide that aims to demonstrate how this can be done at home.
This blog will explain the process of stripping and refinishing an item of Nathan furniture. It will also give you a list of all the items you will require in order to finish the job.
TL;DR: Take me to the Instructional video below
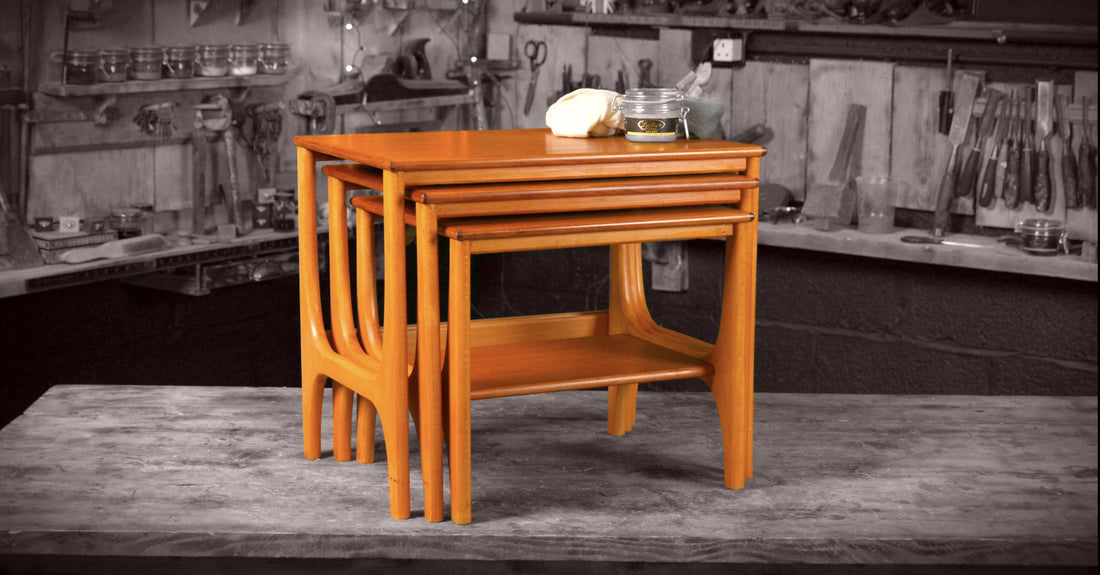
For this guide I will be restoring a well-worn but much-loved set of nested teak Nathan coffee tables.

1. STRIPPING THE EXISTING FINISH

You will need: Gloves | Protective glasses | Mask | Stripper* | Brush | Coarse wire wool | Decorators tray | Paint scraper


Using your paint scraper or cabinet scrape, work from one corner of your table top and push the scraper smoothly along the surface in one stroke. The stripper and finish will collect on top of the scraper and can be deposited into the tray. Repeat this process in strokes across the surface of your furniture.
I was always taught to strip a piece of furniture three times in order to ensure that you are left with a clean bare wood surface. It’s an iron clad way of ensuring all the old finish is removed.
So I would recommend that this stripping process will need to be repeated another two times. As you will see on the video, after the second and third application of stripper I remove it with coarse wire wool. The wire wool should be scrubbed in the direction of the grain and will help to remove the smaller particles of remaining finish. In the video, the final strip shows me using the wire wool until the furniture is dry of any stripper. You should be left with a clean bare finish.
2. SANDING

**If you sand across the grain you will scratch the surface.
Be aware that when sanding large, horizontal surfaces on Nathan furniture you are probably sanding a veneer rather than solid wood. The veneer is generally only about 1 or 1.5mm thick. This is why I advise sanding by hand rather than using an orbital sander.

If you sand through the veneer you are likely to need the services of a professional restorer. Remove the dust from and around your furniture using a vacuum cleaner
3. NEUTRALISING THE STRIPPER
(you may only need to do this if advised to do so by the stripper manufacturer)

You will need: Gloves | Mask | Protective glasses | Methylated spirits (denatured alcohol) | Acetic acid (vinegar) | Small sponge | 180 grit foam-back sandpaper
The stripper that you use at home is unlikely to have a chemical base and so please check the instructions on the stripper container to see if this part of the process is required.
In the video (below) you will see that I add approximately 10 to 20ml of acetic acid to 200ml of methylated spirits. This mixture then needs to be sponged onto all parts of the furniture.

4. SEALING WITH HARD WAX OIL

You will need: Gloves | Hard Wax Oil | White spirit | 100% pure cotton cloth
For a more durable, long lasting finish, apply our hard wax oil to your stripped Nathan furniture before polishing.
Make a palm sized pad with your cloth and dip it into the hard wax oil. In the video you will see that I dilute the hard wax oil with about 10% white spirit or pure turpentine, just to thin it slightly.
With your charged cloth, start at one end of a surface and apply the hard wax oil sparingly, using long strokes, in the direction of the wood grain. You will see an instant change in colour as the wood absorbs the oil.

Once your first coat of hard wax oil has been applied, leave it to dry overnight or for at least 8 hours. Leave your oil-soaked cloth out flat to dry due to the combustible components of the hard wax oil. Or if you wish to reuse it again place it in an air tight container.
5. DE-NIBBING

You will need: Gloves | Mask | Protective glasses | 320 grit foam-backed sandpaper
Once the furniture is completely dry, use the 320 grit sandpaper to gently smooth the surface of your furniture.
6. SCRATCH AND DENT REPAIR


7. SECOND COAT OF HARD WAX OIL
Repeat step 4 in order to ensure a more durable finish. This step is optional.
8. APPLY WAX POLISH


9. BUFFING


Visit our Youtube channel for more videos on furniture restoration.
COMPLETE LIST OF ITEMS REQUIRED
- Protective gloves
- Mask
- Protective glasses
- Stripper
- Paintbrush
- Coarse wire wool
- Oil-free fine wire wool
- Decorators tray
- Paint scraper
- Sanding block
- 120 grit sandpaper
- 320 grit foam-backed sandpaper
- 180 grit foam-backed sandpaper
- Methylated spirits
- Acetic acid
- Small sponge
- Gilboys Hard Wax Oil
- White spirit
- 100% cotton cloth x 2
- Low tack masking tape
- Gilboy’s Beeswax Scratch Repair Cube
- Flame from a candle or lighter
- Thin plastic card (old credit card)
- Gilboy’s Gold Beeswax Polish (Pure or Rose Gold)